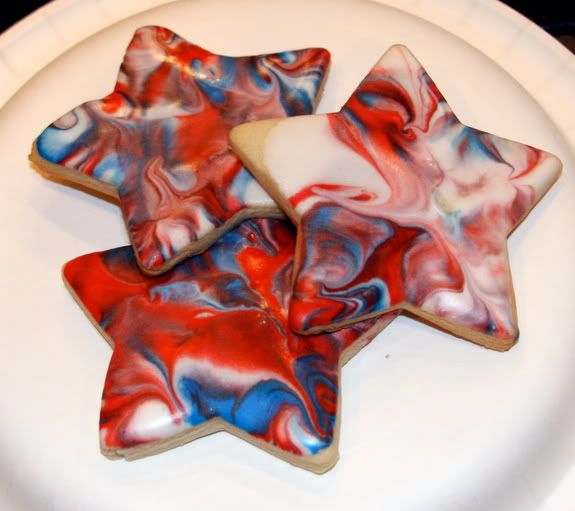
Red, White and Blue 'Tie Dye' Cookies - a fun and easy treat for Independence Day!
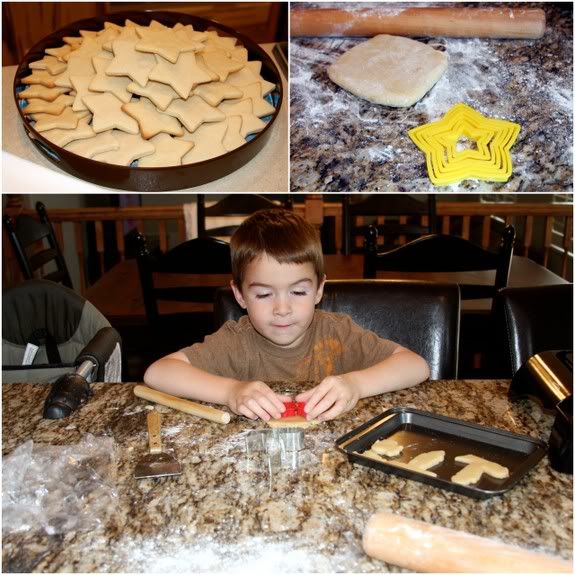
As you can see from my son's smile, he loooooves sugar cookies. This is our favorite way to decorate them because (1) he can do it himself and (2) no piping for me to mess up!
Besides, the effect is so pretty!
He also dearly loves getting the scraps to roll out at home and play with.
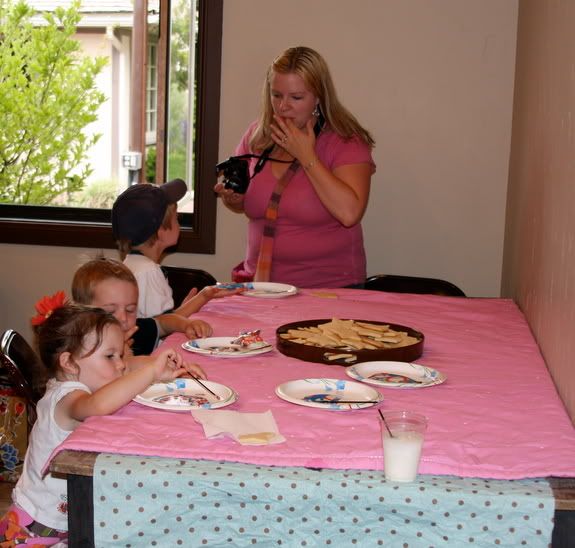
The kids seems to get a kick out of swirling their frosting colors together and then dipping their cookies to decorate them - before eating them while the frosting was still wet.
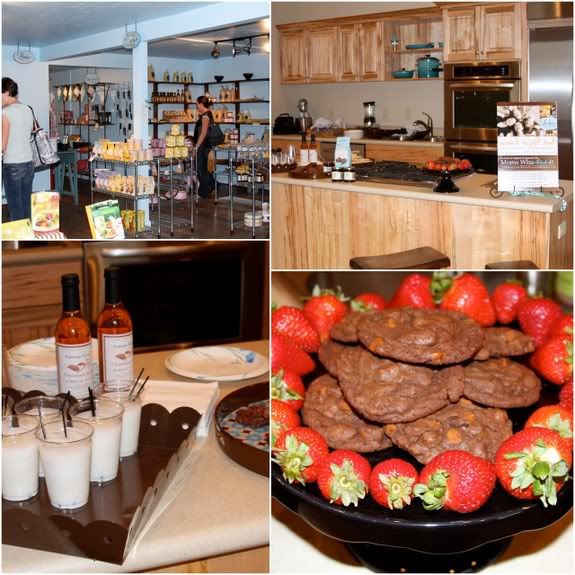
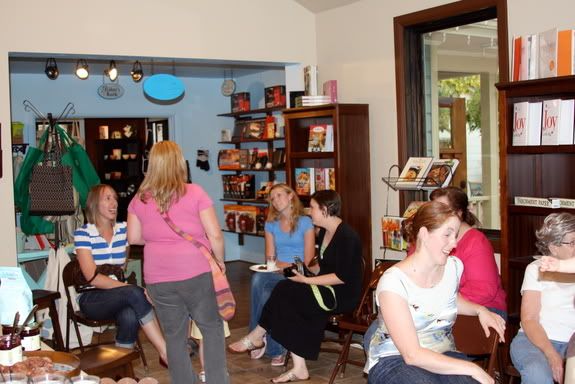
While the kids dipped and ate some cookies, the moms got to enjoy some chocolate fudge cookies with cinnamon chips, cinnamon italian sodas, fresh strawberries, and chocolate hazelnut scones with blackberry jam - all provided by Tiffany, the fabulous owner of
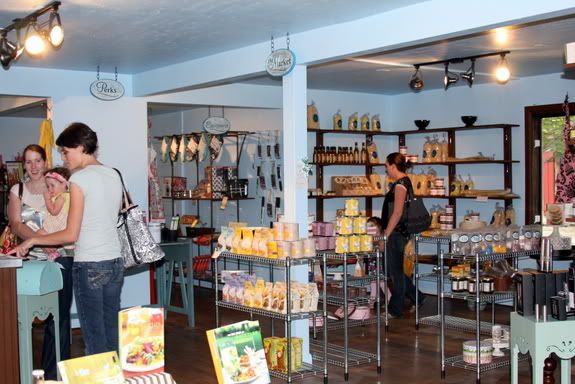
Lorken Food Finery. In fact, the scones, jam, and cinnamon syrup for the sodas are all items available at her store!
All of the
'Sexy Six' Backstage Bloggers were present - I just didn't get pictures - but it is always so fun to hang out with these ladies. They are so inspiring and such a joy! Speaking of inspiring ladies who are a joy, it was so great to see
Emily and Quinn again!
Perhaps, my most favorite part of the evening though was the fact that Tiffany gave all of us a discount on items purchased that night at buy one, get one half off. I can't wait to tell you more about what I scored! I am sooooo excited! Besides, how could you not be happy shopping in a store as cute as this!
Vanilla Roll-Out Cookies
- 10 tablespoons (1 1/4 sticks) unsalted butter, room temperature
- 1/2 cup sugar
- 1/4 teaspoon salt
- 1 large egg
- 1 1/4 teaspoons vanilla extract
- 2 cups all purpose flour
Using electric mixer, beat butter in large bowl at medium speed until smooth and creamy, about 2 minutes. Add sugar and salt and beat until pale and fluffy, about 2 minutes. Add egg; beat until well blended, about 1 minute. Reduce speed to low and beat in vanilla. Add flour and beat on low speed just to blend. Gather dough into ball; divide in half. Form each half into ball and flatten into disk. Wrap disks separately in plastic and chill until firm, at least 4 hours. DO AHEAD: Can be made 2 days ahead. Keep chilled.
Position rack in center of oven; preheat to 350°F. Line 2 baking sheets with parchment paper. Working with 1 disk at a time, roll out dough between 2 sheets of waxed paper to 1/8-inch thickness for smaller (2-inch) cookies and 1/4-inch thickness for larger (3- to 4-inch) cookies. Using decorative cookie cutters, cut out cookies and transfer to prepared sheets, spacing 1 inch apart. If cookies become too soft to transfer to baking sheets, place in freezer on waxed paper for 5 minutes before continuing. Gather scraps, roll out dough, and cut more cookies, repeating until all dough is used. If not icing cookies, decorate with sprinkles or other sugar toppings, if desired.
Bake 1 sheet at a time until cookies are firm on top and golden around edges, about 10 minutes for smaller cookies and up to 14 minutes for larger cookies. Cool completely on rack. Decorate with Royal Icing, then sprinkles or other sugar toppings, if desired. Let stand until icing sets. DO AHEAD: Can be made 4 days ahead. Store between sheets of waxed paper in airtight containers.
Royal Icing
3 1/4 cups (or more) powdered sugar, sifted
4 teaspoons meringue powder + 4 Tablespoons water = 2 egg whites (easier to work with and safer for kids)
1 teaspoon pure vanilla extract
Assorted food colorings (optional) - I use gel food colors to get the vibrant shades seen here
Using electric mixer, beat 3 1/4 cups powdered sugar with meringue powder and water until thick and shiny, adding more powdered sugar by tablespoonfuls if mixture is too thin to spread, about 3 minutes. Add vanilla. Divide icing into portions, if desired, and add different food coloring to each. Cover until ready to use.
DIRECTIONS FOR RED, WHITE & BLUE 'TIE DYE' COOKIES:
Divide icing into three bowls - keeping about half of the frosting white and dividing the other half into two portions. Color each of the other portions, one blue and one red.
On a small plate, place a large spoonful of white icing. Using separate spoons for each color, drizzle a little of each of the other colors on top of the white. Using a toothpick, swirl the frostings together a bit to get a pretty marbled effect.
Dip a cookie 'face down' into the frosting without moving it. Gently lift the cookie straight back up, set aside on a rack to set - or just eat while the frosting is glossy and wet. Enjoy!





27 comments:
Those cookies are so cute! I can see how they'd be a hit with the children, but I think I'd be right there with them.
Those are so cute! I may have to try them for Saturday....
LOVE the cookies. They are super fun. I am sad I missed this event. Glad you had a good time.
Those are adorable cookies-- I think Ill try something like that for an upcoming engagement party. BTW, your son is ADORABLE! He looks just like you!
Those have got to be some of the coolest-looking cookies I have ever seen!
I love the cookies! It sounds like it was a fun time.
I'm glad the party was a hit! Your son is so cute! What a great idea to decorate cookies!
Wow, those cookies look super groovy! =) The kids did a fantastic job frosting them, love it!
That looks like it was a real fun night. Too bad I couldn't make it! :(
glad your event was a success, it looks like so much fun. I love the tie die cookies, so clever.
Sad I missed out - it looks like it was tons of fun! and I LOVE the cookies - too cool!
Holly, your boy is adorable! Look at his big smile! :) Loved the cookies too!! So cute! Very creative and very neatly done!! WTG!!
A-ha! No tasting, Lauren! Heh heh :)
Those cookies are preeeetty! Love the technique, genius!!
Looks like my kind of fun! I like the cookies so much that I'm going to make some today for a family I'm taking dinner to tomorrow night. The boys will get a big kick out of doing the tie-dye!
These look fabulous!
My favorite 4th of July post this year, how cool are these?!
Your cookies look great. How appropriate for the upcoming holiday. The kids look like they had a lot of fun decorating the cookies.
I am definitely saving this recipe... thanx for sharing.
Love the cookies. I would go make them right now if I didn't have to pack for vacation tomorrow. Bookmarked!
I just finished tie-dying the cookies with a couple of my boys. They loved it and the cookies look awesome!
When I first saw these cookies, the icing is so pearly, resembling stained glass, that I mistook them for jello stars. But cookies!? Even better. They are just beautiful.
Anyway, I found you on TasteSpotting and am writing to say that if you have any photos that aren’t accepted there, I’d love to publish them. Visit my new site (below), it’s a lot of fun! I hope you will consider it.
Best,
Casey
Editor
www.tastestopping.wordpress.com
LOVE the tie dye icing!!! WOW! Your son is so cute!
Love the decorating idea! This could be great for so many different occasions.
This is a delicious looking treat. What a great idea! We had beautiful fireworks in our area. Happy 4th!
Jackie at PhamFatale.com
love the pretty swirls!!!
Psychadelic, man;) Very cool.
I need to say. I can’t believe I haven’t yet. But this is the cookie recipe I’ve been using for 8 or 9 years. This is my Go-To for cutter cookies. I modify by adding a smidge of cinnamon to the cookie dough. Every single time...the flavor of the cookie is a hit. “The cookies are perfect. Just the right amount of sweet without being too too sweet”.
These are a hit. These are a big part of my life. Thank you thank you thank you
Post a Comment